Blog
How to Install Outdoor Christmas Lights: A Step-by-Step Guide

Introduction
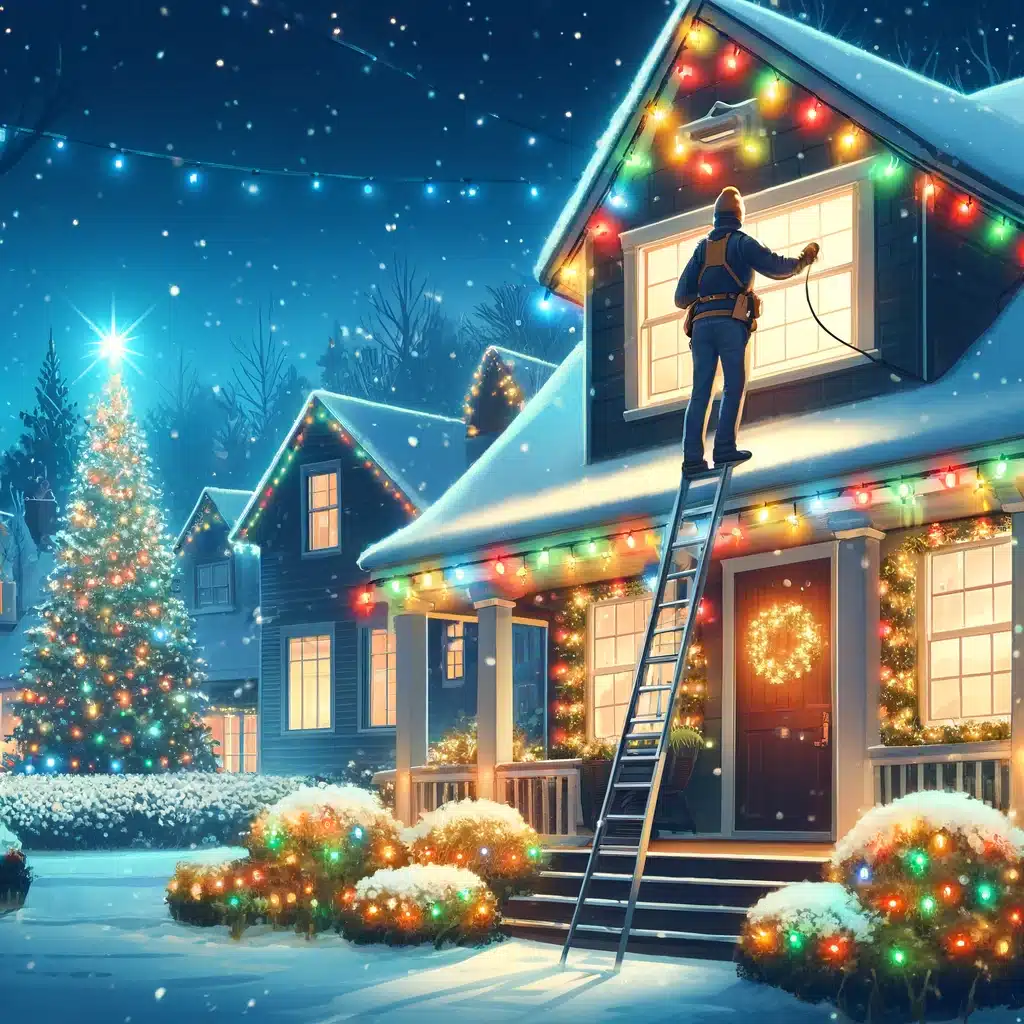
Installing outdoor Christmas lights can transform your home into a festive wonderland. Whether you’re a beginner or a seasoned pro, this guide will help you achieve a stunning holiday display with ease.
1. Plan Your Design
Before you start, plan your design. Decide where you want to hang your lights and choose the type of lights you need. Common areas include rooflines, windows, trees, and pathways.
2. Gather Supplies
You’ll need:
- Christmas lights (LED or incandescent)
- Extension cords
- Light clips or hooks
- Ladder
- Tape measure
- Timer (optional)
3. Test the Lights
Always test your lights before hanging them. Plug them in to ensure all bulbs are working. Replace any faulty bulbs.
4. Measure and Mark
Measure the areas where you’ll hang the lights to determine how many strands you’ll need. Mark the spots where you’ll place clips or hooks.
5. Install Clips or Hooks
Attach light clips or hooks to your roofline, gutters, or other areas. These clips will hold the lights securely in place.
6. Hang the Lights
Starting from the power source, begin hanging the lights. Work your way along the roofline, windows, or other areas, attaching the lights to the clips or hooks as you go. Ensure the lights are evenly spaced and taut.
7. Secure Extension Cords
Use outdoor-rated extension cords to connect your lights to the power source. Secure the cords with electrical tape or clips to prevent tripping hazards.
8. Set a Timer (Optional)
For convenience, use a timer to automatically turn your lights on and off. This can save energy and ensure your display is lit during peak hours.
9. Safety Tips
- Use lights rated for outdoor use.
- Avoid overloading electrical circuits.
- Ensure ladders are stable and secure.
- Keep electrical connections off the ground and away from water.
Conclusion
With careful planning and the right tools, installing outdoor Christmas lights can be a fun and rewarding project. Follow these steps to create a festive display that will bring holiday cheer to your home and neighborhood.

